
Concerns about microbial or fungal growth are common during a home inspection, especially in East Texas where humidity and moisture are part of everyday life. Many buyers worry they won’t understand what inspectors are seeing or how serious a concern might be.
The goal of a home inspection is not to diagnose—it’s to identify visible conditions that may indicate elevated moisture or environments where microbial or fungal growth can develop. Understanding how inspectors make these observations helps you feel informed, confident, and prepared to take the right next steps.
This guide explains how inspectors identify potential microbial or fungal growth concerns, what signs they look for, and how this information supports smarter home-buying decisions in the Longview and East Texas area.
What Inspectors Mean by Microbial or Fungal Growth
During a home inspection, inspectors do not perform laboratory testing or identify specific substances. Instead, they document visible indicators and environmental conditions that may support microbial or fungal growth.
These observations help answer one key question:
Is there evidence of moisture-related conditions that could affect the home’s materials or indoor environment?
Why Microbial or Fungal Growth Is Common in East Texas Homes
East Texas homes are especially prone to moisture-related concerns because of:
- Warm temperatures
- High humidity
- Frequent rain
- Shaded lots and wooded areas
- Crawlspaces and older construction styles
These conditions don’t mean a home is unsafe—but they do mean moisture management matters.
Step 1: Inspectors Look for Moisture First
Moisture is the primary factor inspectors focus on.
Common moisture sources include:
- Roof leaks or flashing issues
- Plumbing leaks
- Poor drainage around the foundation
- Inadequate ventilation
- High humidity in crawlspaces or attics
If moisture is present, inspectors know it can create an environment where microbial or fungal growth may develop.
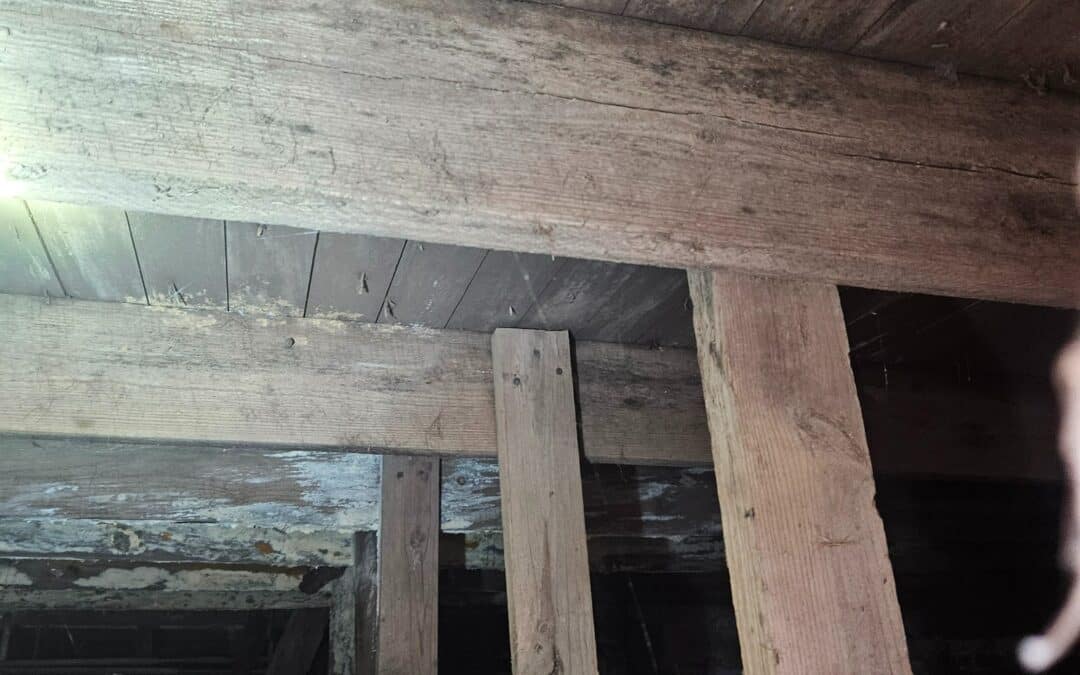
Step 2: Visual Identification of Surface Conditions
Inspectors rely on visual observation during a standard home inspection.
They look for:
- Discoloration on surfaces
- Staining or spotting
- Texture changes on building materials
- Growth-like patterns on walls, ceilings, or framing
These observations are documented as suspected microbial or fungal growth when appropriate, not as a diagnosis.
Step 3: Attention to High-Risk Areas
Certain areas of the home are more prone to moisture and growth concerns.
High-risk areas include:
- Bathrooms
- Laundry rooms
- Kitchens
- Attics
- Crawlspaces
- Around HVAC systems
- Beneath sinks and plumbing fixtures
In East Texas homes, crawlspaces and attic ventilation are especially important areas of focus.
Step 4: Use of Moisture Detection Tools
Inspectors often use moisture meters to help identify elevated moisture levels in building materials.
What moisture readings help with:
- Confirming whether materials are currently damp
- Identifying hidden moisture behind surfaces
- Supporting visual observations with data
Moisture readings provide clarity but are still part of a non-invasive visual inspection process.
Step 5: Evaluating Ventilation and Airflow
Poor airflow can allow moisture to linger.
Inspectors evaluate:
- Bathroom exhaust fans
- Kitchen ventilation
- Attic ventilation systems
- HVAC performance and drainage
Improper ventilation doesn’t automatically mean a growth problem exists, but it can increase risk over time.
Step 6: Identifying Patterns, Not Isolated Marks
One spot alone may not tell the full story. Inspectors look for patterns.
Examples include:
- Similar staining in multiple rooms
- Repeated moisture readings in one area
- Consistent issues near plumbing lines
Patterns help inspectors understand whether a concern is localized or part of a broader moisture issue.
Step 7: Documenting Findings Clearly in the Report
When potential microbial or fungal growth concerns are observed, inspectors document:
- The location
- The visible condition
- Supporting photos
- Relevant moisture readings
- Recommended next steps, if applicable
The goal is clarity—not speculation.
Step 8: What Inspectors Do Not Do
It’s equally important to understand limitations.
During a standard home inspection, inspectors do not:
- Perform lab testing
- Identify specific substances
- Confirm health impacts
- Predict future growth
Those steps may require additional evaluation by qualified specialists if recommended.
Step 9: Taking Notes While Reviewing the Report
As you review the inspection report:
- Write down areas you want clarified
- Note locations you want to understand better
- Capture questions about moisture sources or prevention
This preparation helps turn the report into a meaningful conversation instead of a confusing document.
Step 10: The Q&A Call — Turning Observations Into Understanding
After reviewing your report, Palmer Inspections offers a dedicated Q&A call for every client.
This call allows you to:
- Ask questions about observed conditions
- Understand what findings mean in real terms
- Learn which items are priority versus maintenance-related
- Feel confident about post-inspection decisions and requests
Many buyers say this conversation brings the most peace of mind, especially when navigating moisture-related concerns in East Texas homes.
Final Thoughts: Clarity Matters More Than Labels
Microbial or fungal growth concerns can sound intimidating, but understanding how inspectors identify conditions changes everything. The inspection process focuses on visible evidence, moisture conditions, and clear communication—so you’re never left guessing.
When questions come up, having the opportunity to talk them through makes all the difference.